

Git for Beginners: Basics and Essential Commands
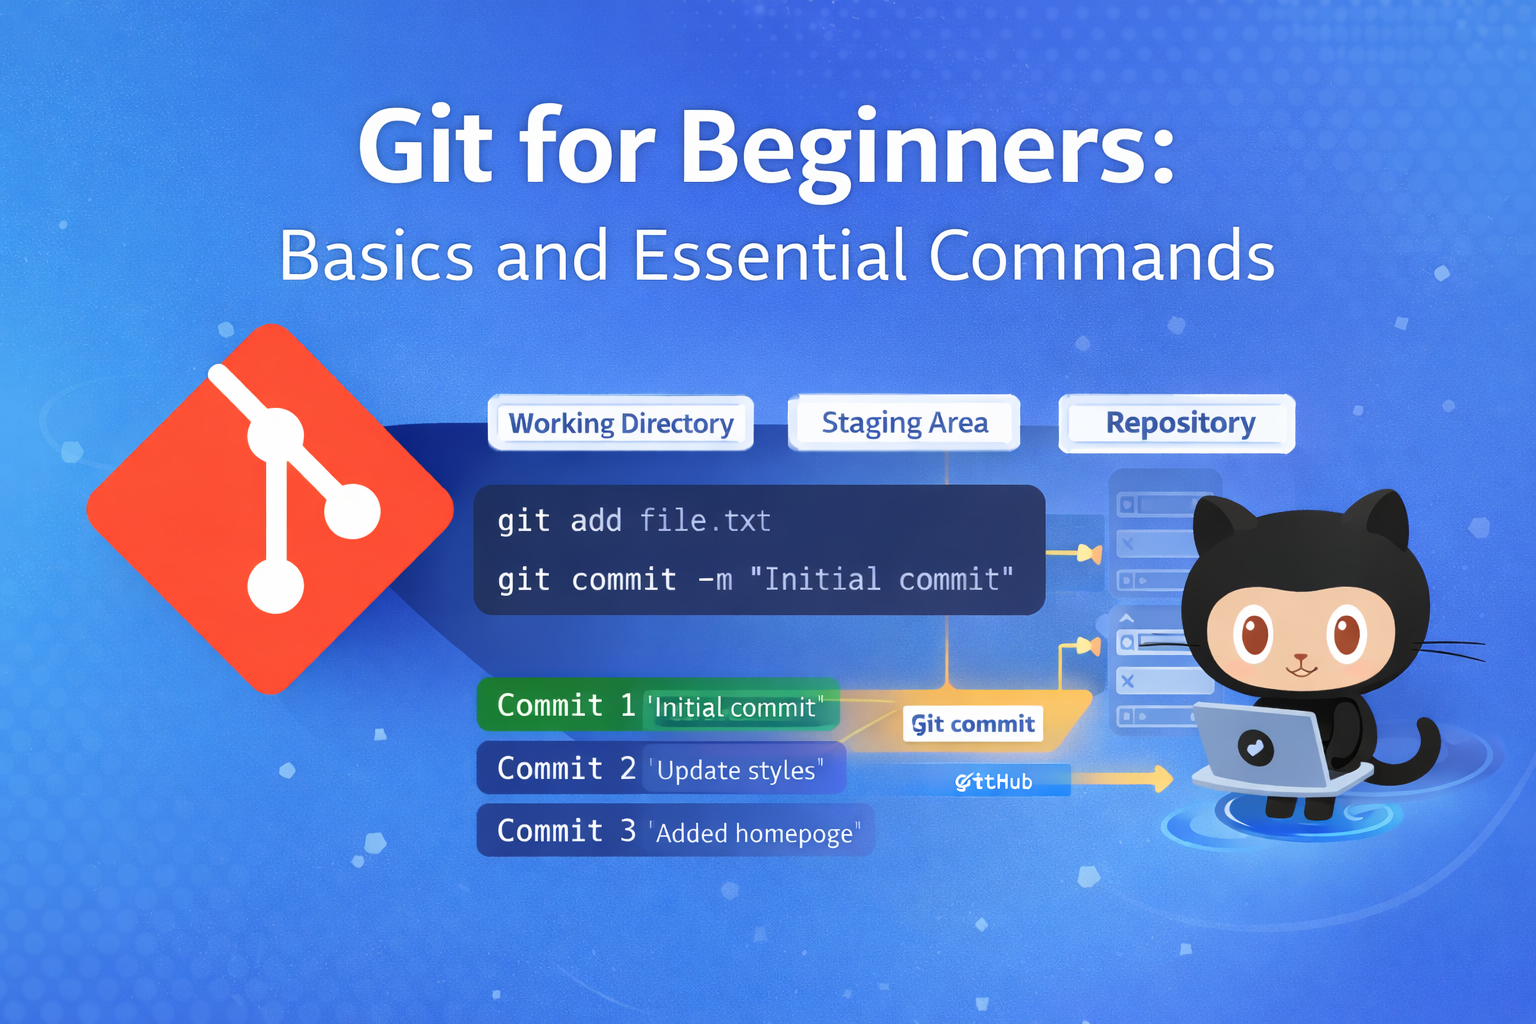
Git is an essential tool for every developer. If you are new to coding or web development, learning Git can help you manage your projects efficiently. In this article, we will explore Git in simple terms, understand why it is used, learn the basics, and see how a developer works with Git step by step.
What is Git?
Git is a distributed version control system (VCS). In simple words, it helps you track changes in your code, collaborate with other developers, and manage different versions of your project.
Imagine you are writing a story. If you make mistakes or want to go back to an older version, Git allows you to do that easily. It stores snapshots of your project over time, so you can review or restore any previous state.
Unlike older version control systems, Git is distributed, which means every developer has a full copy of the project history on their own computer. This makes it faster and safer.
Why Git is Used
Git is widely used because it solves many problems developers face:
Track changes: You can see what changes were made, by whom, and when.
Collaboration: Multiple developers can work on the same project without overwriting each other’s work.
Backup: Since every developer has a full copy of the repository, losing data is rare.
Experimentation: You can create branches to try new features without affecting the main project.
For example, if you are building a website and want to add a new feature, you can create a branch for that feature. If it doesn’t work, your main code stays safe.
Git Basics and Core Terminologies
Before using Git, it’s important to understand some basic terms:
Repository (repo): This is where your project and its history are stored. Think of it as a folder that Git manages.
Commit: A snapshot of your project at a specific point. Each commit has a unique ID and a message describing the changes.
Branch: A separate line of development. The default branch is usually called main or master.
HEAD: A pointer that tells you which commit or branch you are currently on.
Staging area: A place where you prepare changes before committing them.
Common Git Commands
Here are some essential Git commands that every beginner should know:
git init – Initialize a new Git repository in your project folder.
git initExample: You create a new folder called my-website and run git init. Now Git can track your project.
git status – Check which files have changed, which are staged, or untracked.
git statusgit add – Move changes to the staging area, preparing them for commit.
git add index.htmlExample: You edited index.html and want to save this change.
git commit – Save a snapshot of staged changes with a message.
git commit -m "Added homepage layout"git log – See the history of commits in the repository.
git loggit branch – View, create, or delete branches.
git branch new-featuregit checkout – Switch between branches.
git checkout new-feature
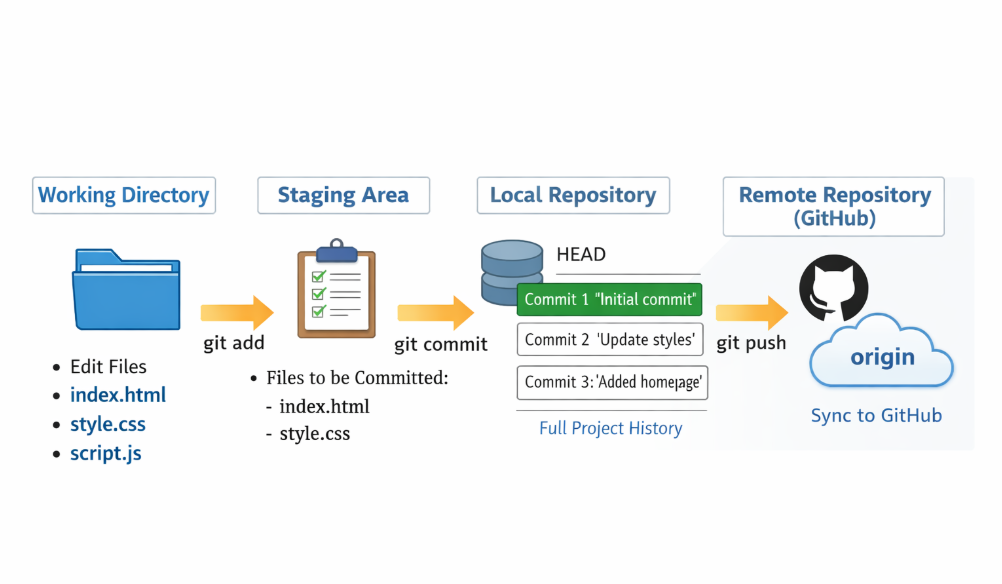
A Basic Developer Workflow with Git
Step 1: Create a new project folder and initialize Git
mkdir my-website
cd my-website
git init
Output:
Initialized empty Git repository in /path/to/my-website/.git/
Explanation: Now your folder my-website is a Git repository. Git will track changes here.
Step 2: Create a new file
Create a file called index.html and add some HTML content:
<!DOCTYPE html>
<html>
<head>
  <title>My Website</title>
</head>
<body>
  <h1>Welcome to My Website</h1>
</body>
</html>
Step 3: Check Git status
git status
Output:
On branch main

No commits yet

Untracked files:
  (use "git add <file>..." to include in what will be committed)
        index.html

nothing added to commit but untracked files present (use "git add" to track)
Explanation: Git notices a new file index.html but it’s not yet tracked.
Step 4: Add the file to the staging area
git add index.html
Check the status again:
git status
Output:
On branch main

No commits yet

Changes to be committed:
  (use "git rm --cached <file>..." to unstage)
        new file:   index.html
Explanation: Now the file is staged, ready to be committed.
Step 5: Commit the file
git commit -m "Add index.html with basic structure"
Output:
[main (root-commit) 1a2b3c4] Add index.html with basic structure
 1 file changed, 10 insertions(+)
 create mode 100644 index.html
Explanation: Git has saved a snapshot of your project. The commit ID is 1a2b3c4 (example).
Step 6: Check commit history
git log
Output:
commit 1a2b3c4f567890123456789abcdef1234567890 (HEAD -> main)
Author: Your Name <you@example.com>
Date:   Thu Jan 24 2026 16:45:00 +0530

    Add index.html with basic structure
Explanation: You can now see all the commits in your repository.
Step 7 (Optional): Create and switch to a new branch
git branch new-feature
git checkout new-feature
Output:
Switched to branch 'new-feature'
Explanation: You can now work on the new feature without affecting main.
Step 8 (Optional): Merge branch back to main
After making changes and committing in new-feature, switch to main and merge:
git checkout main
git merge new-feature
Output:
Updating 1a2b3c4..5d6e7f8
Fast-forward
 index.html | 2 ++
 1 file changed, 2 insertions(+)
Explanation: Changes from new-feature are now part of main.


